
Getting Ready: Riviera to Rhine Cycle Tour
Rough Plan: Start in nice weather and head north.
We decided to head to Europe, originally planning to start in Barcelona and finish in Dubrovnik. But after looking at a few different long routes, we ended up sketching out a path that takes us across France to Monaco, up to Milan, then north through the Alps—passing through Switzerland, Alsace in France, along the Rhine in Germany, through Belgium and the Netherlands—eventually finishing in Amsterdam. So yeah, we had a plan—but we like to stay flexible.
Traveling in the shoulder seasons opens up more options for last-minute changes. Lodging is easier to find, and if the weather turns bad in one area, we can always pivot and head somewhere else. If a road is too sketchy, closed, or just not fun to ride, we can hop on a train or grab a FlixBus.
The one thing we can’t change after we leave home? What we bring with us. Sure, you can pick up things along the way, but you can’t always count on finding exactly what you need. And overpacking? Yeah, we’ve done that more than once.
Each trip, we get a little smarter. We review what we actually used, what sat untouched at the bottom of a pannier, and update the list. Below is the version we’re using for this ride.
The final step before we roll out? Packing the bikes. Scroll down for photos and a few tips on how we boxed them up for the journey.
Planned Route
Actual Route
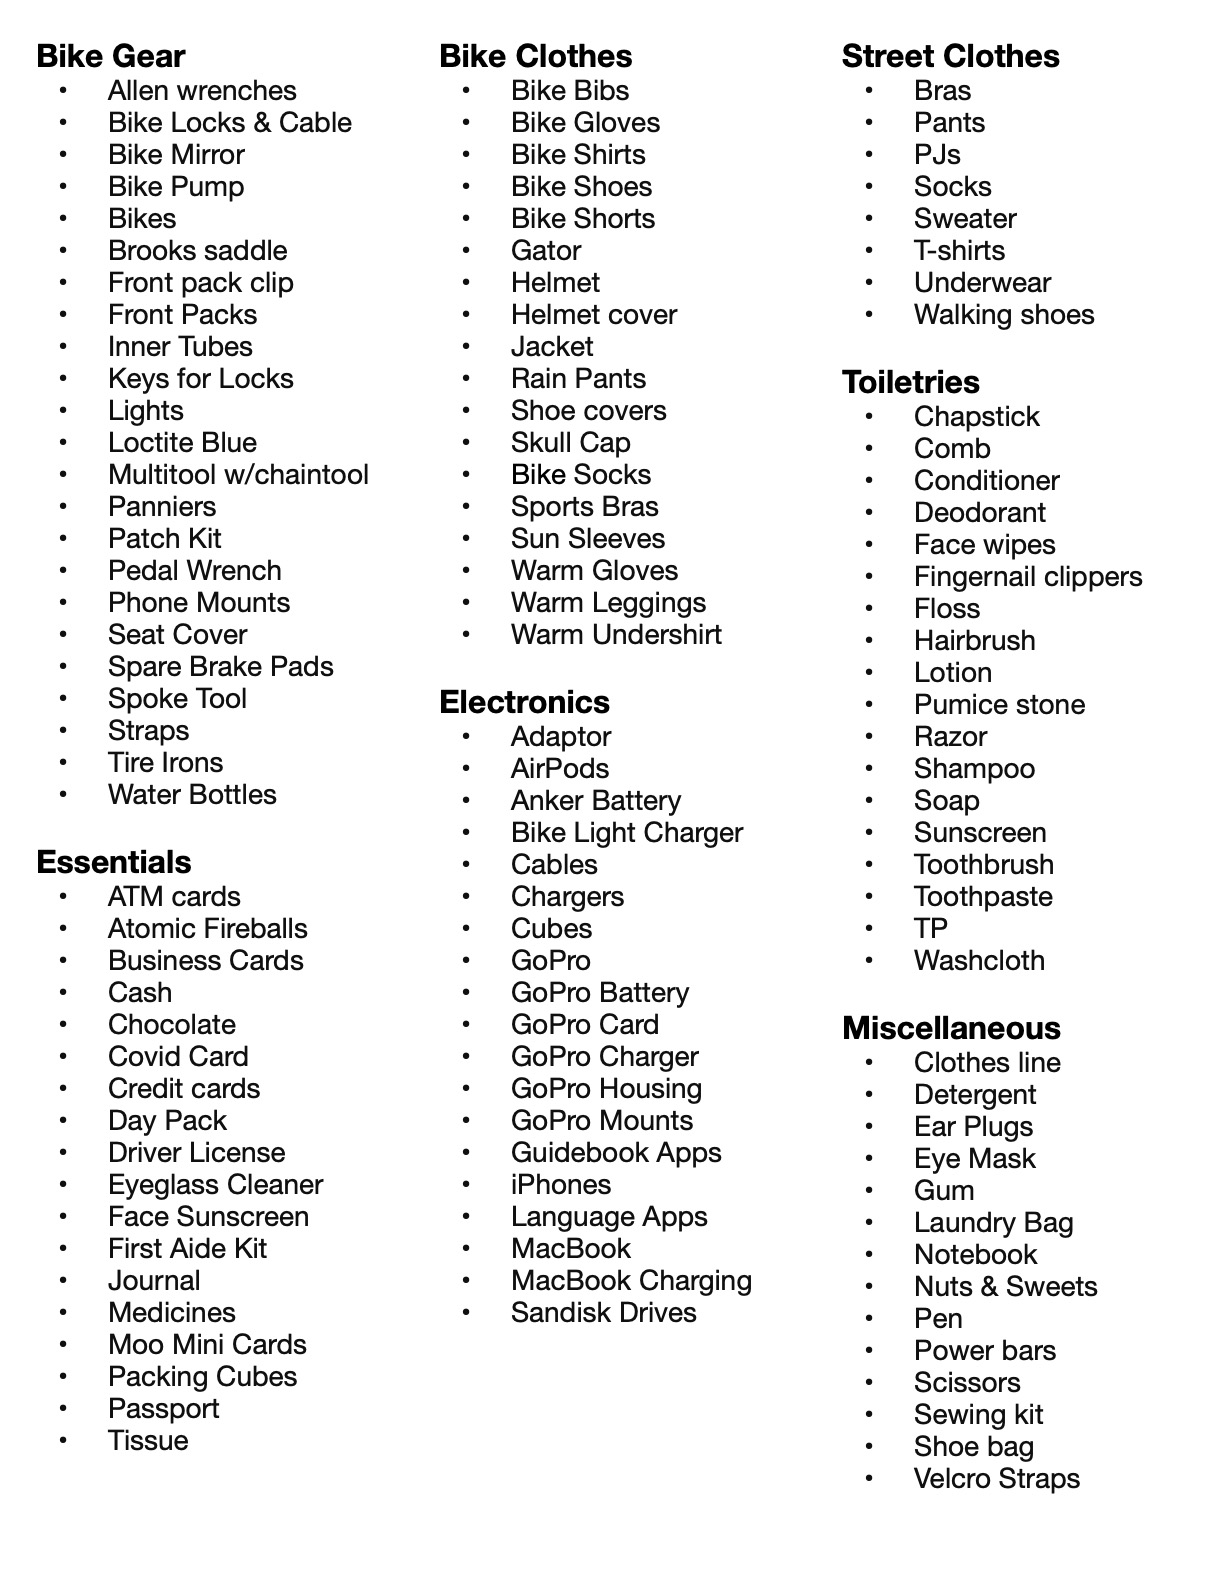
Our combined list has these items
We’ve learned to pack light—every item has to earn its place. Our gear includes just the essentials: bike tools, clothing layers, compact electronics, and a few toiletries. Since we carry our bags through airports, into hotel rooms, and up the occasional staircase, keeping the weight down matters. It all fits in our panniers, with a little room left for snacks and souvenirs.
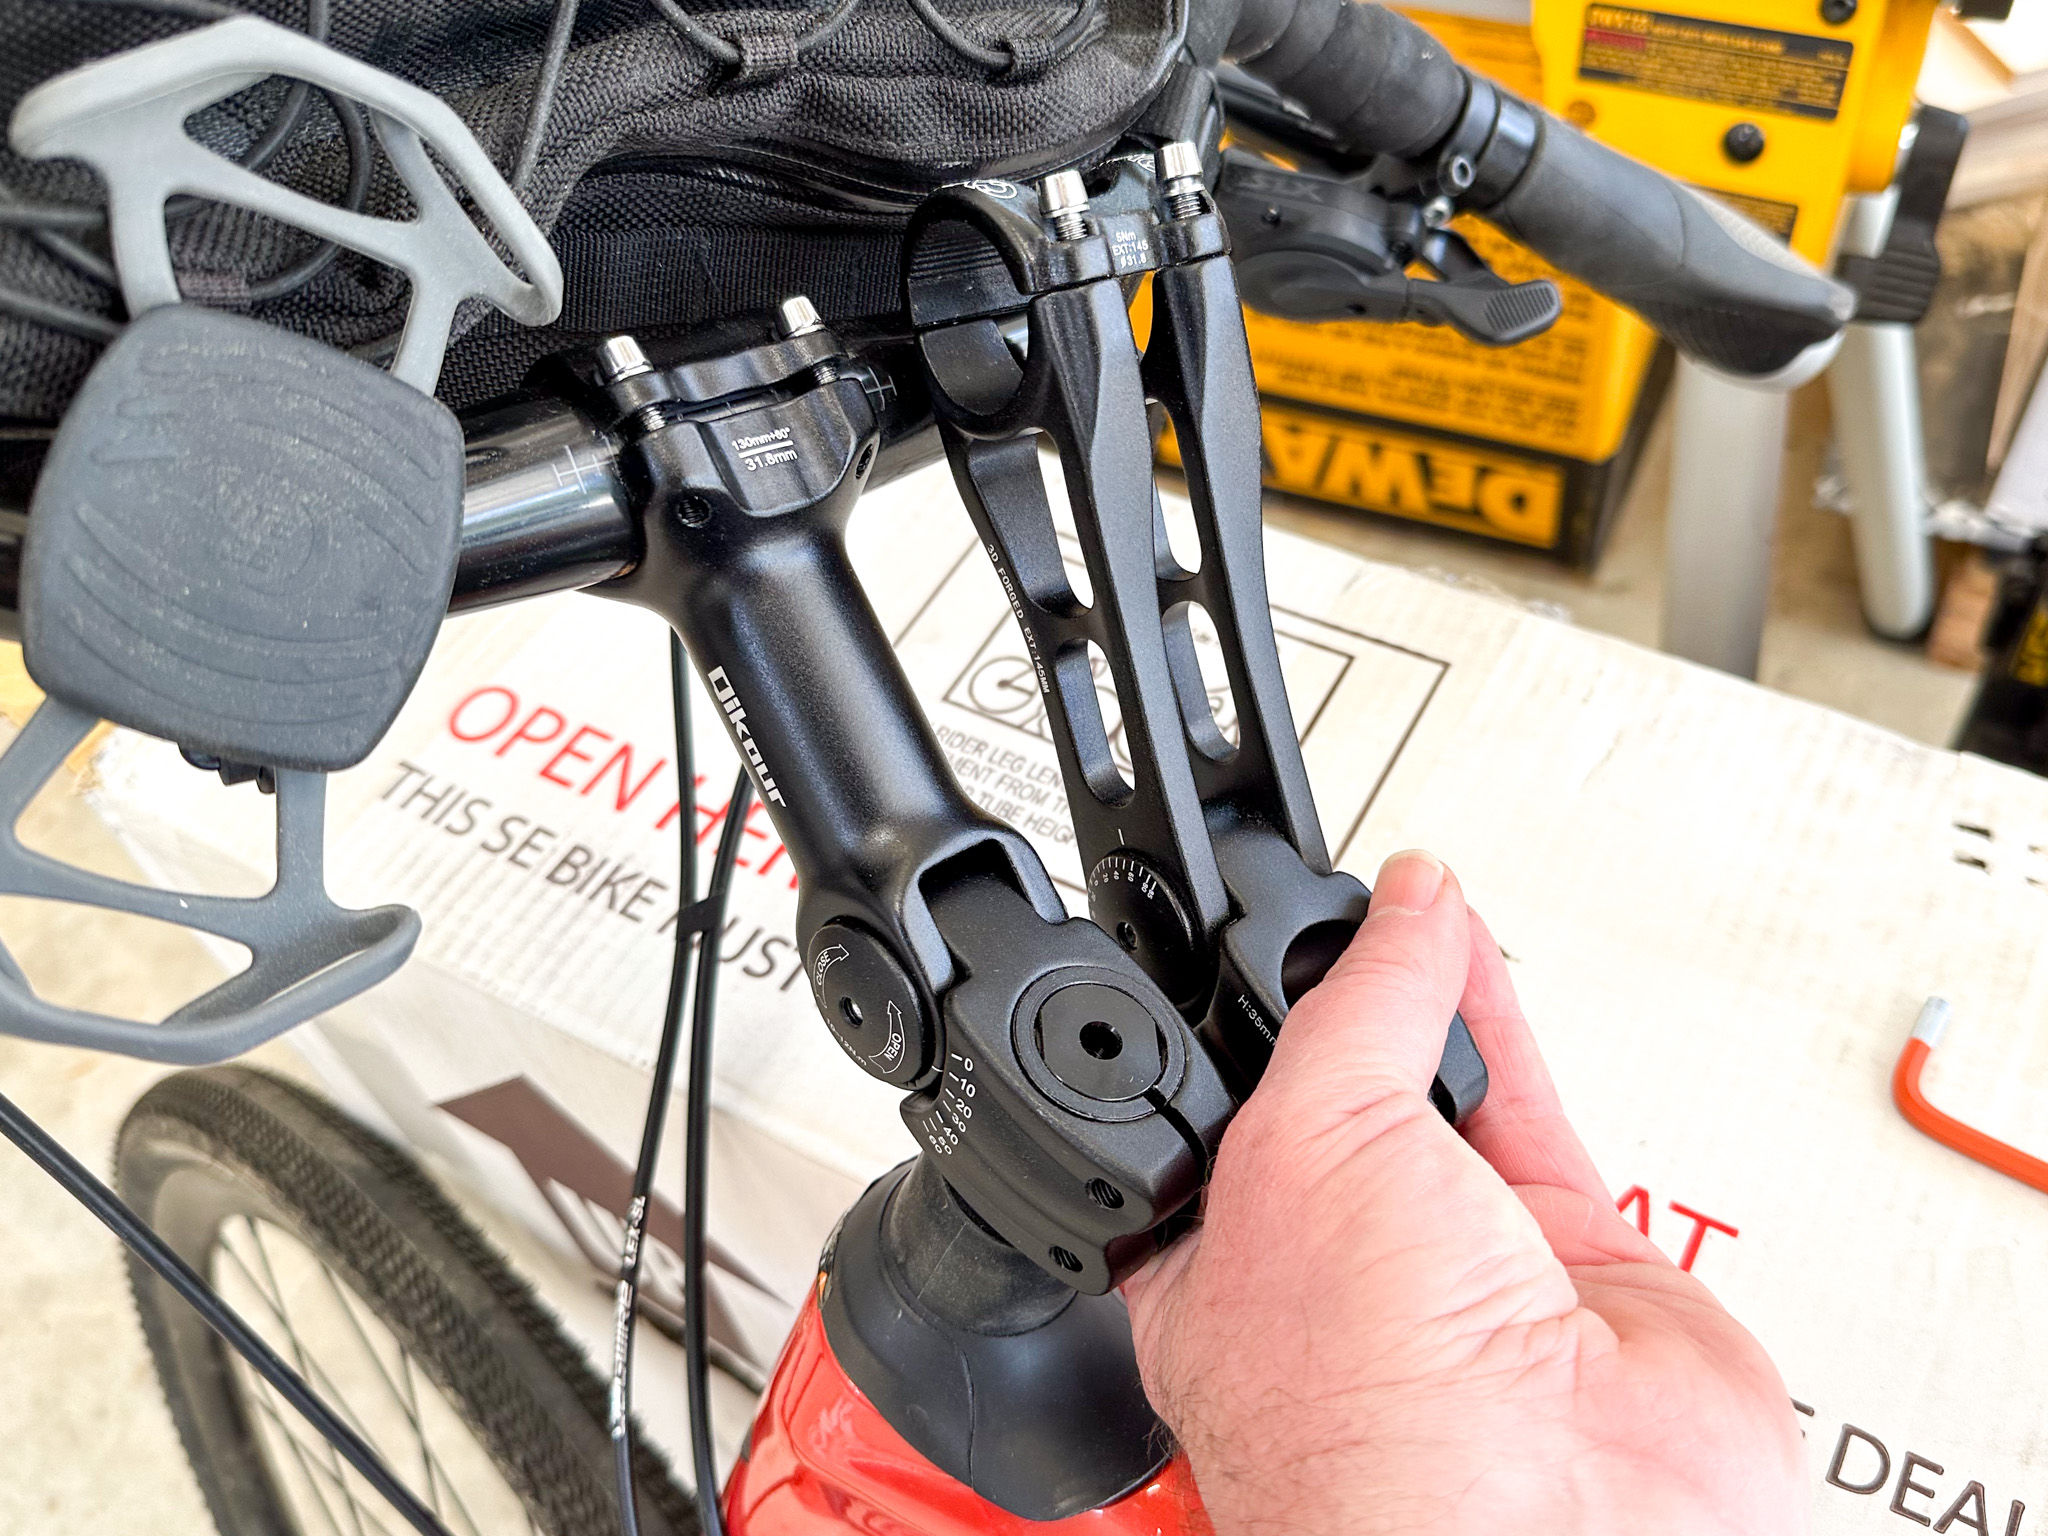
Modify your bike to suit your riding style
I swapped out the stem on my trusty Sirrus X, Fireball. The old one had started to squeak under pressure—usually when I was really pulling on it, like during steep climbs or popping the front wheel over curbs or obstacles (leftover habits from my MTB days). It looked cool with its two slim arms, but it flexed too much and just didn’t feel solid. The new stem is much sturdier—no flex, no noise, just a nice, tight connection.
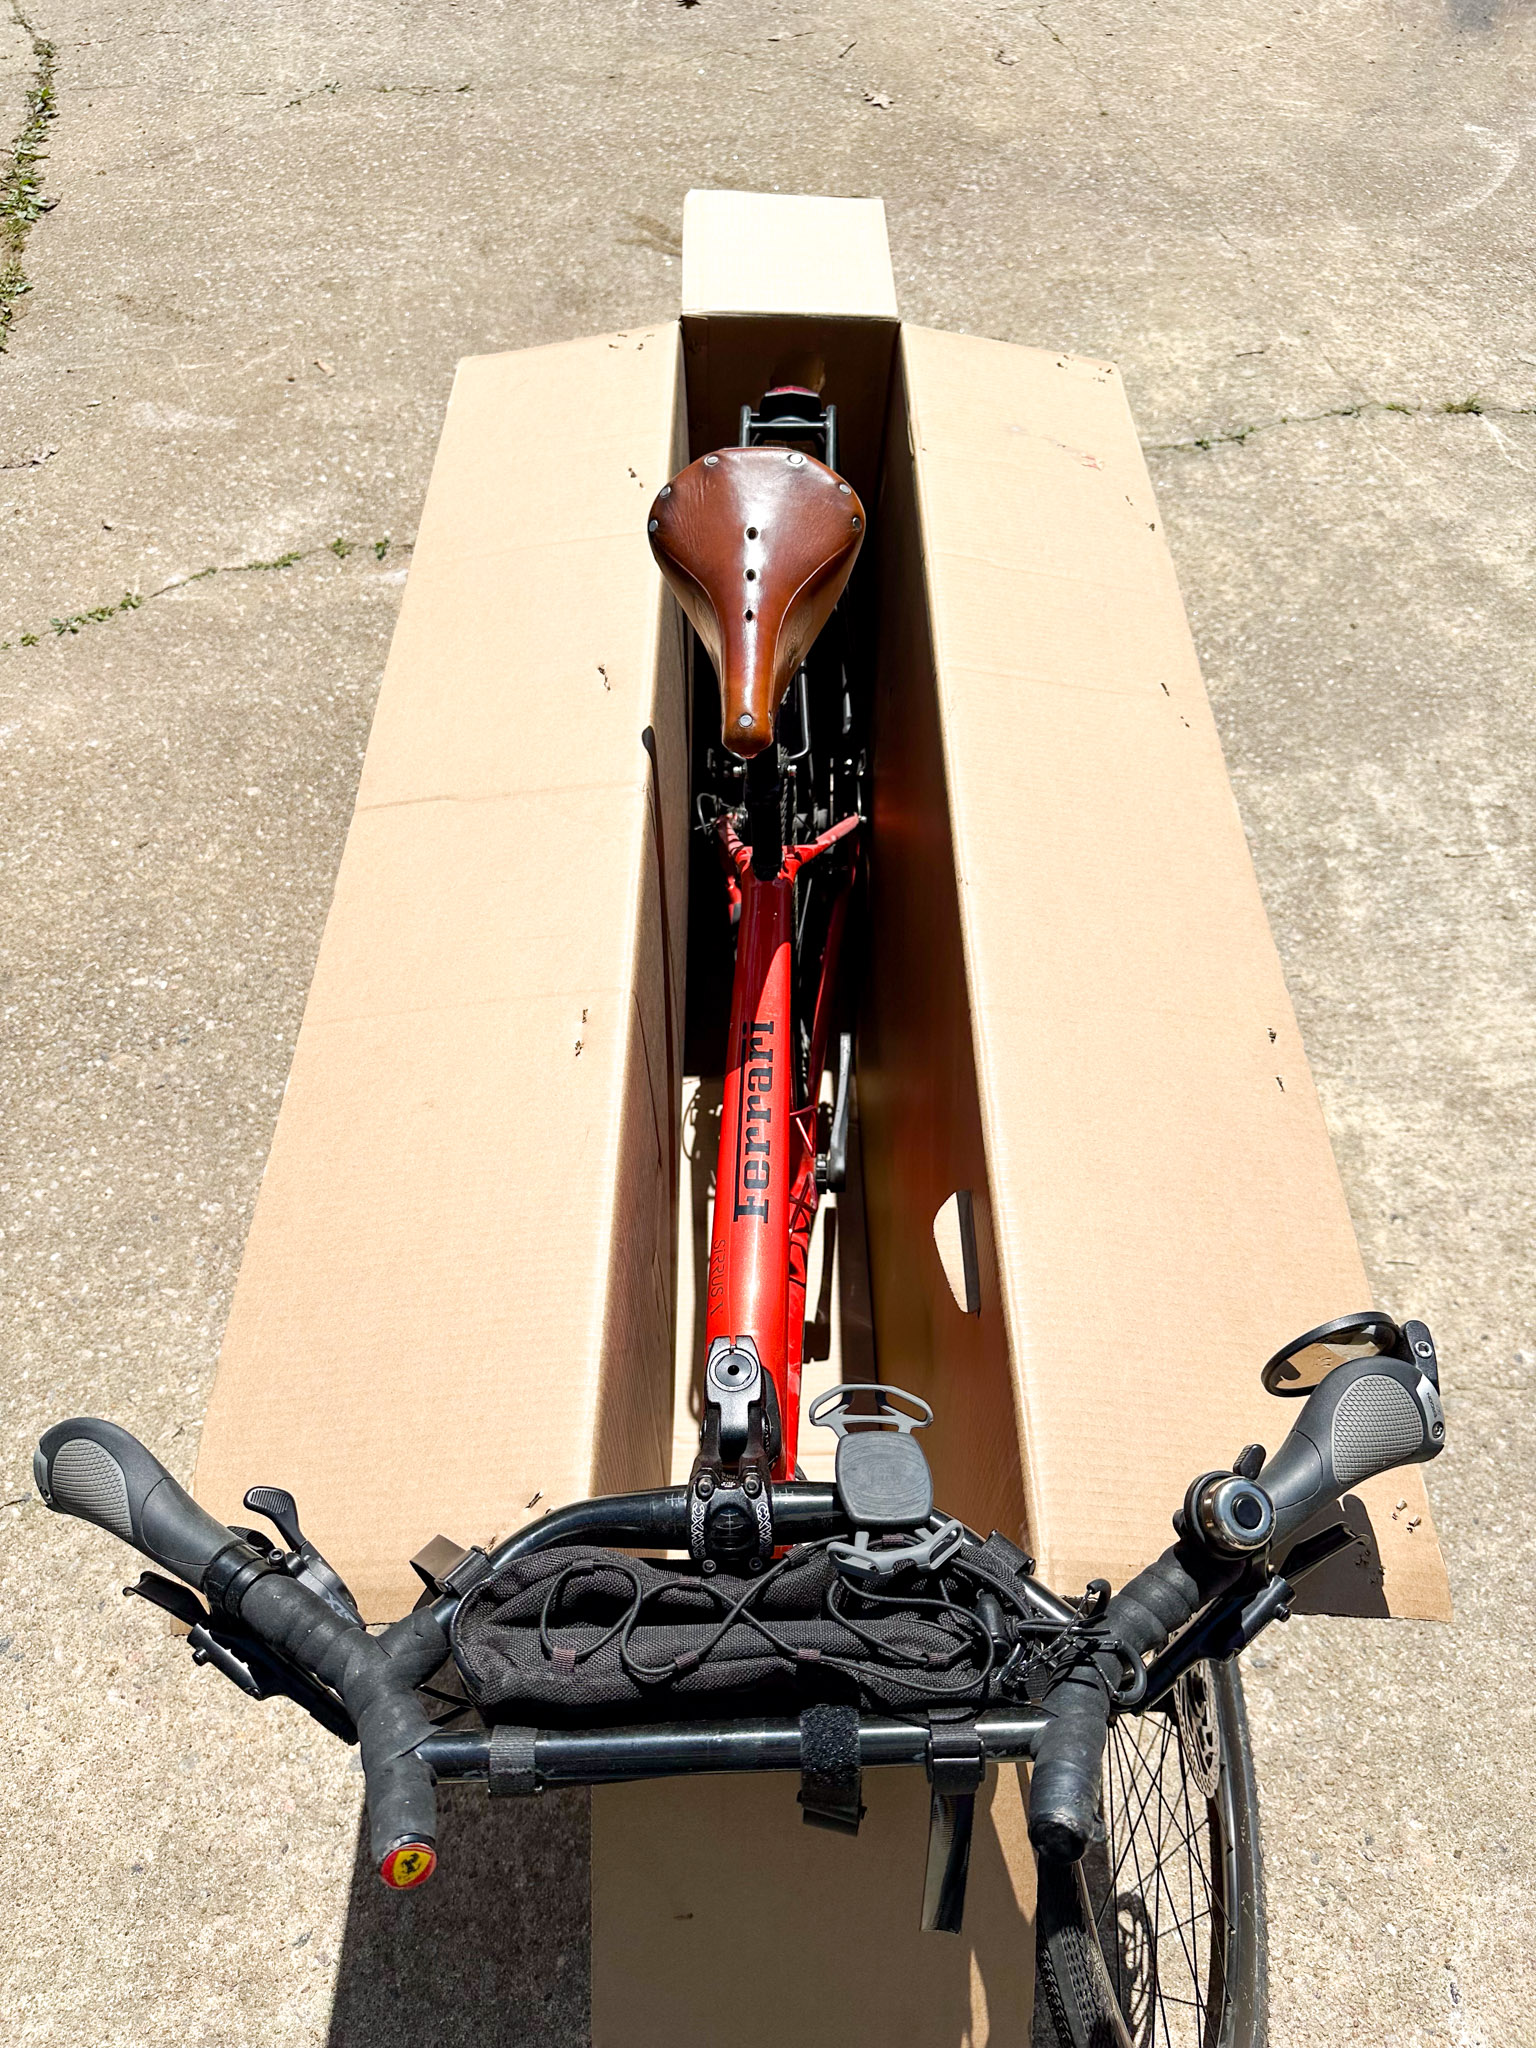
Assuring new bike box will work
Whenever we make changes to our bikepacking setup, we always do a test pack to make sure everything fits snugly, that includes the bike —and it’s a good thing we did. The new box I picked up ended up being just a bit small, with the forks pressing hard into the cardboard. Strapping the bike in like that would’ve increased the risk of damage during transit. Luckily, our local bike shop was happy to swap it out for a larger one.
Aside, we’re often start and end trips in different cities. We’ll leave the boxes behind in Barcelona and picking up new ones at the end of the ride.
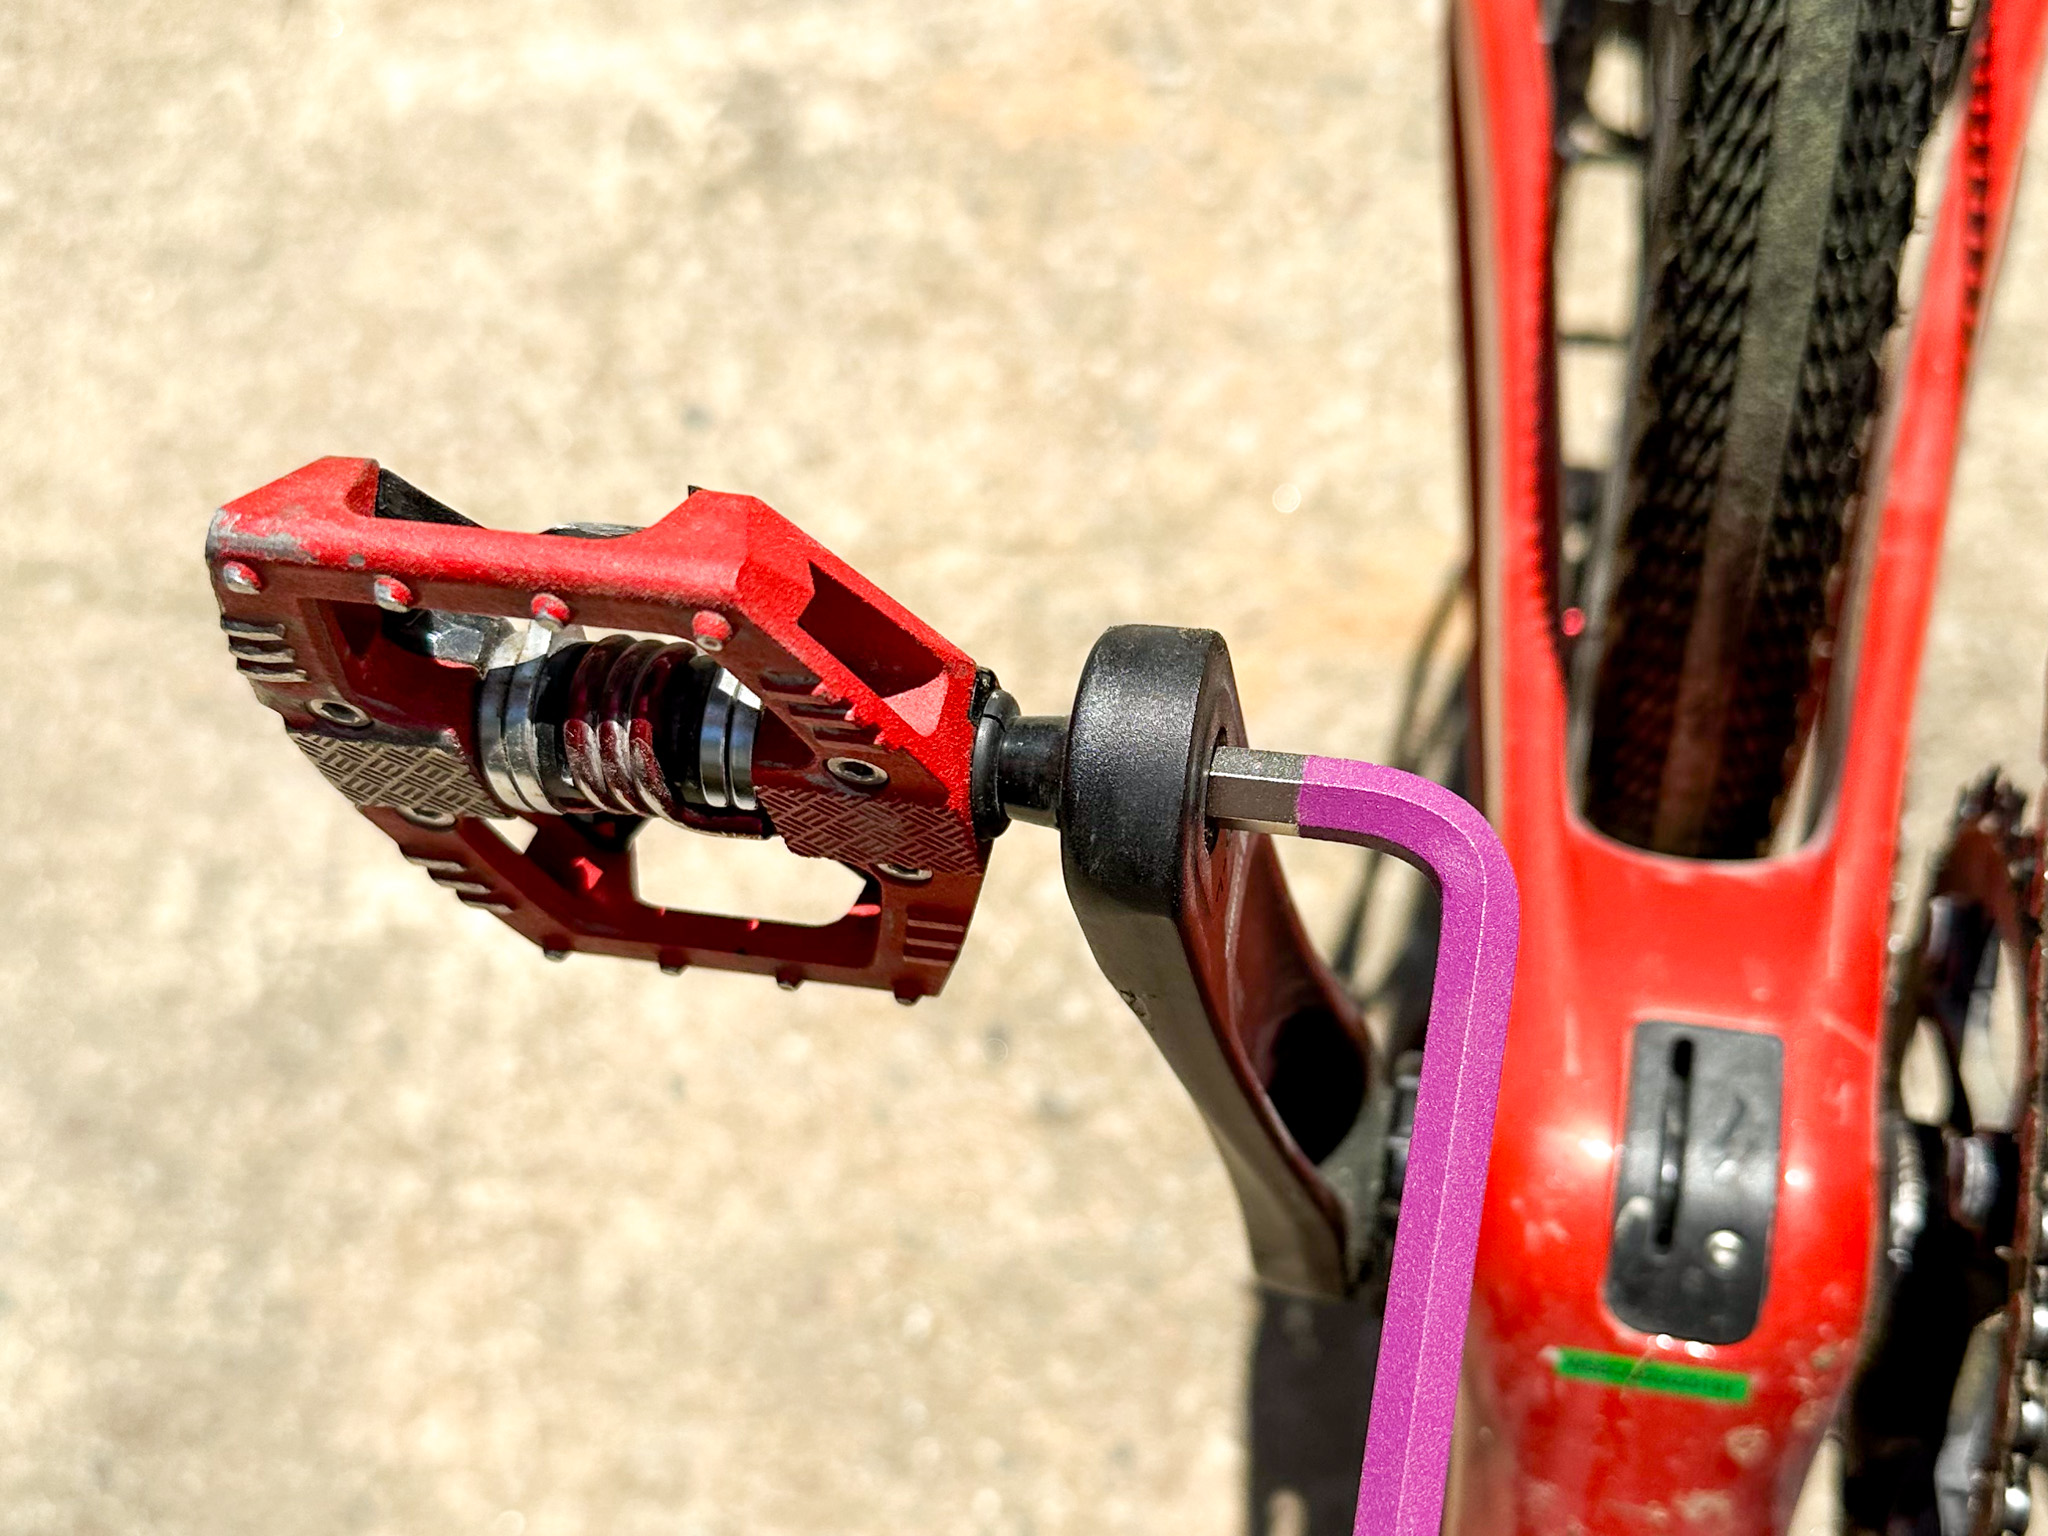
Removing the pedals
Make sure you’ve got the right tools to remove your pedals, handlebars, seatpost, front wheel—basically anything you’ll need to disassemble for packing. And don’t forget: the left pedal has a reverse thread. It’s one of those clever little design quirks that keeps your pedals from unscrewing themselves mid-ride.
A little description of the photo
When I see an adult on a bicycle I do not despair for the future of the human race.H. G. Wells
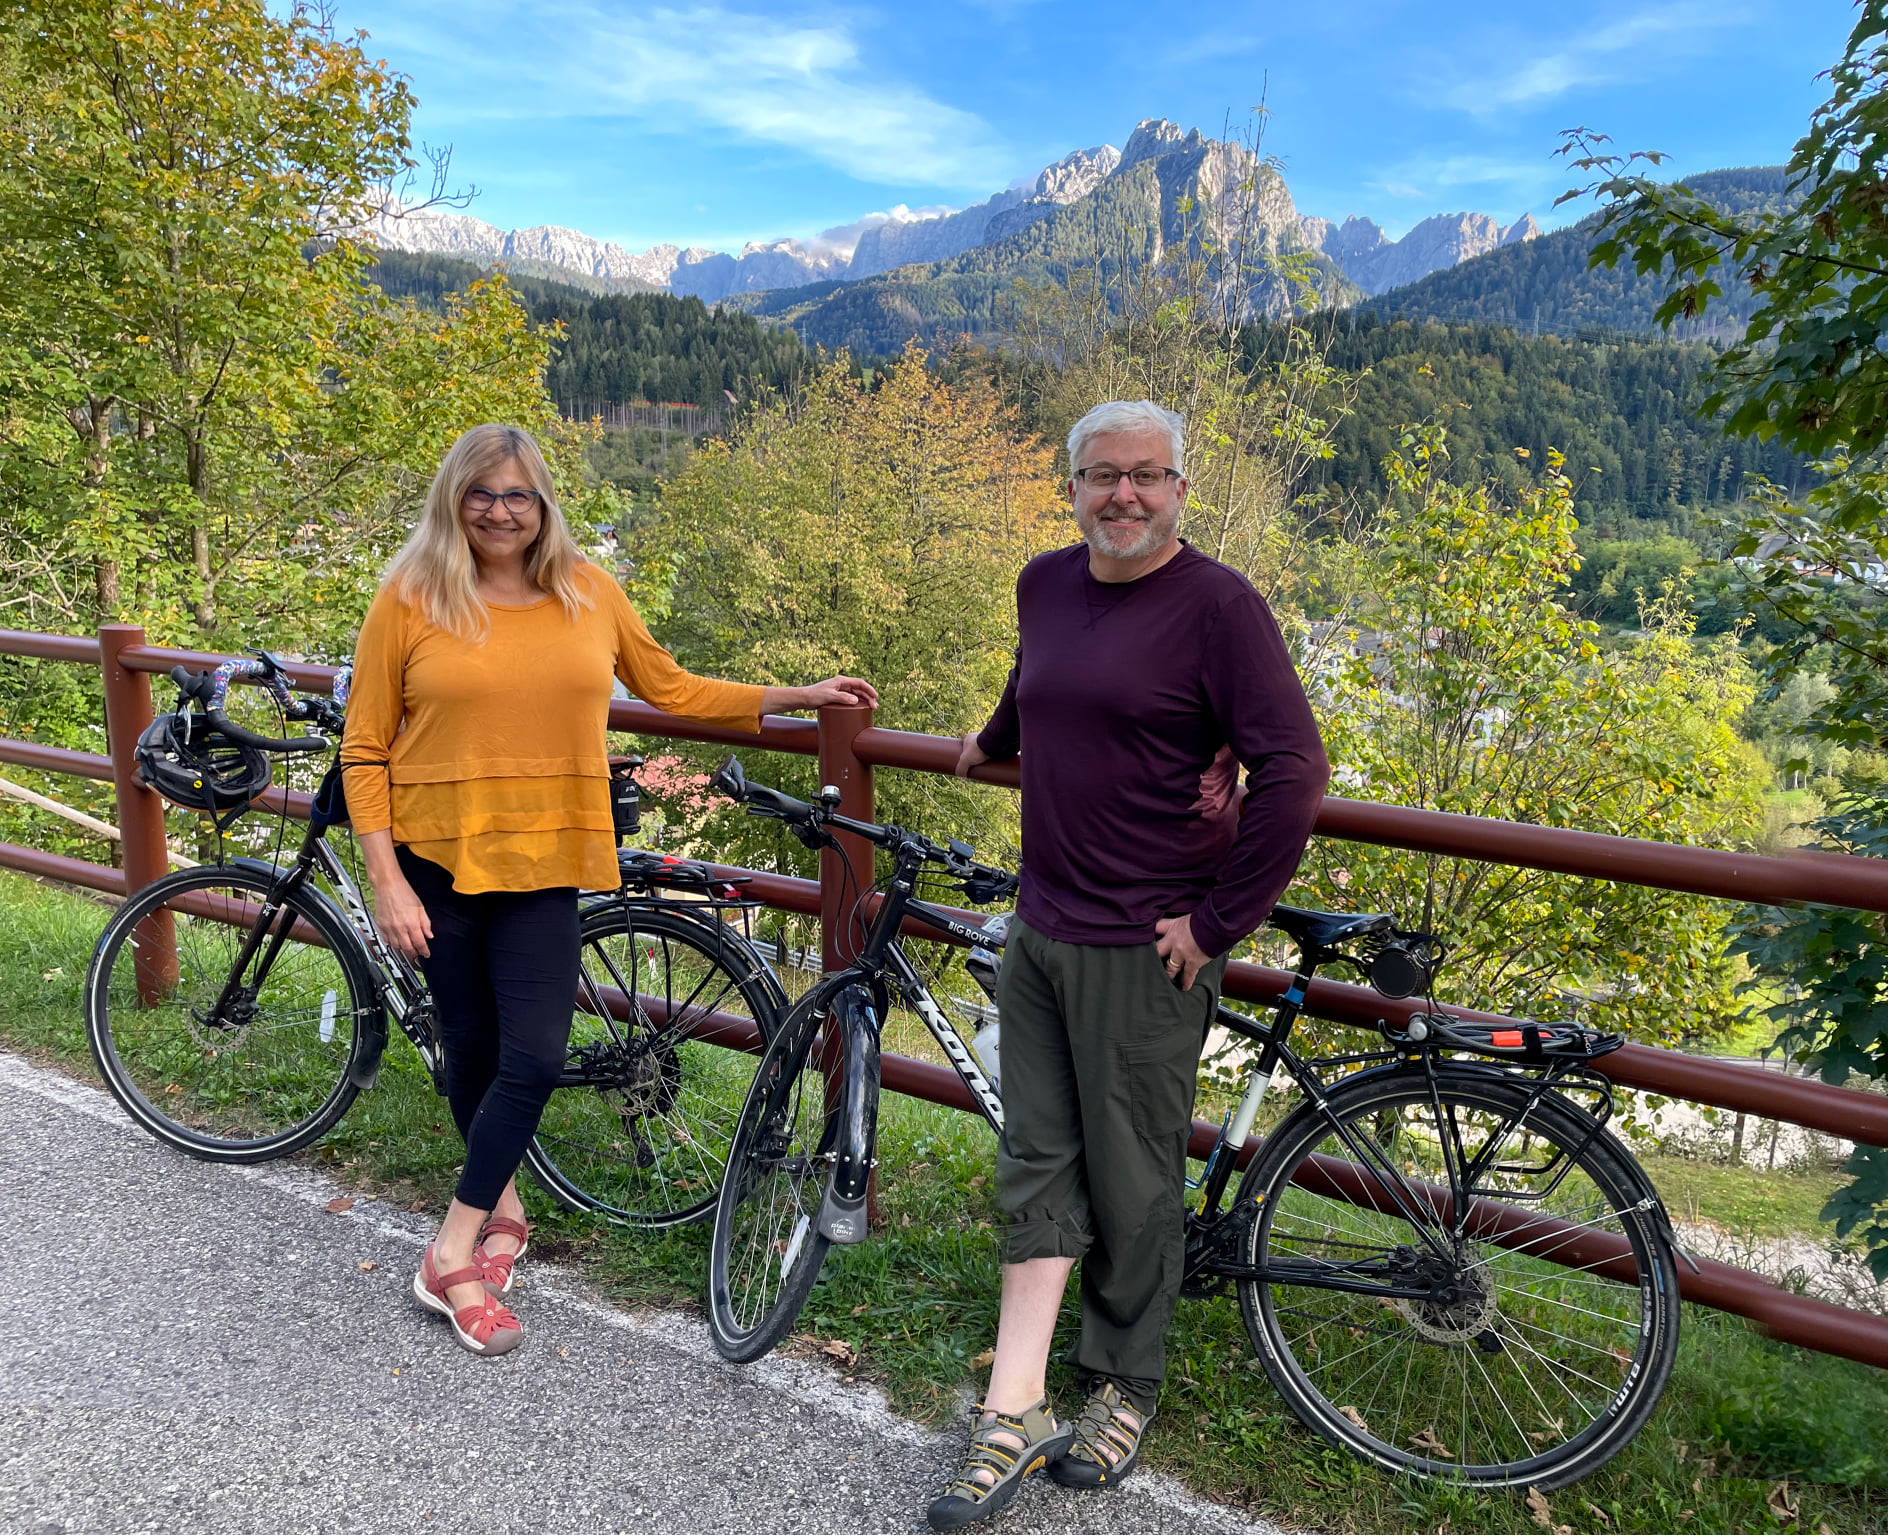
Ian & Grace
Enjoy the ride


